Thinking about giving your tired old rubber gear a fresh new look? You’ve probably caught yourself wondering, “Can you actually spray paint rubber?” The short answer? Yes, but it’s a little tricky!
Here’s the deal: rubber is super flexible. It bends, stretches, and squishes. Standard spray paint, on the other hand, dries stiff. So if you just blast regular paint onto a bouncy material, it’s going to crack, flake, and peel off pretty fast. That is… unless you’re using specialized flex-paint or you know the secret prep hacks!
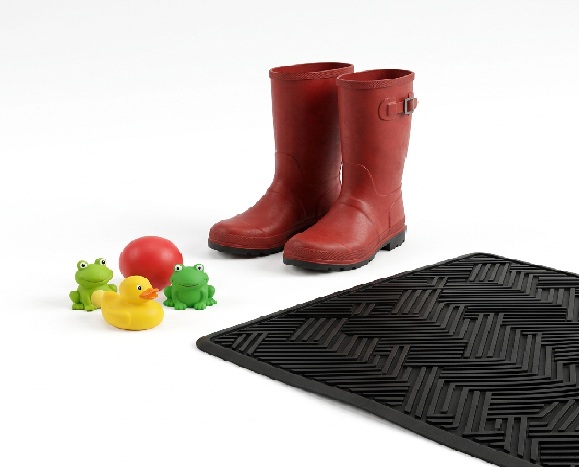
If the item you’re painting—like rubber boots, old toys, or heavy-duty floor mats—doesn’t get folded or bent like crazy every single day, you can totally use regular spray paint! As long as you prep the surface right, the new look can actually last a super long time.
How to Spray Paint Rubber?
Here are the two best ways to get the job done without ruining your project:
Method 1: Use Flexible Rubber Paint
If you want zero hassle, grab a can of flexible rubber spray paint. It’s literally made to stretch with the rubber! With this stuff, you just give it a quick shake, spray it on following the standard steps, and you’re good to go—no cracking guaranteed.
Method 2: The DIY Way (Using Regular Spray Paint)
Got a regular can of spray paint in your garage? You can make it work! The secret sauce here is all in the prep work to help the paint actually stick:
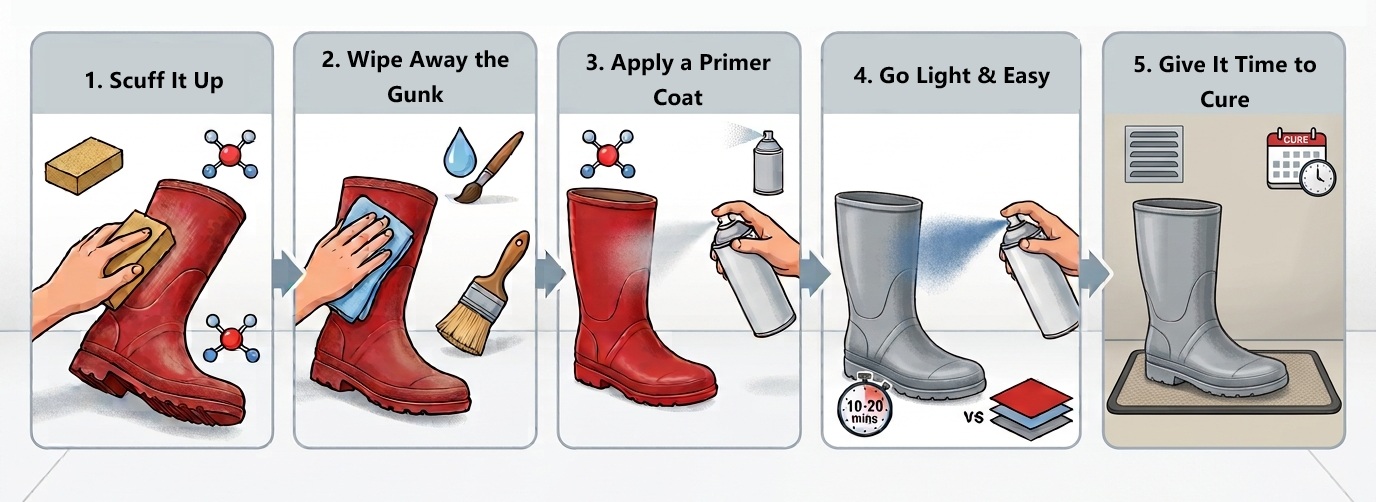
1.Scuff It Up: Take a piece of fine sandpaper and gently rub down the rubber surface. You’re not trying to destroy it—just rough it up a bit so the paint has something to hold onto!
2. Wipe Away the Gunk: Grab a damp cloth and wipe away all that leftover dust. If it’s really dirty, bring out a soft brush with a little soap to get rid of grime, then let it dry completely.
3. Apply a Primer Coat: Before hitting it with color, spray on a light, even layer of primer (preferably a plastic or adhesion-promoter primer). This creates a super-grippy base layer so your topcoat bonds like glue instead of peeling off later!
4. Go Light & Easy: Resist the urge to go heavy! Spray in multiple thin coats instead of one thick layer. This stops ugly drips and pooling. Wait about 10 to 20 minutes between coats so each layer gets dry to the touch before the next splash.
5. Give It Time to Cure: Rubber is stubborn, and paint takes a while to truly bond with it. Even if it feels dry after 24 hours, let it sit somewhere safe for 1 to 3 full days before using it. Patience is key here!
Ready for Your Next DIY Project?
At the end of the day, spray painting rubber doesn’t have to be a disaster. As long as you take the extra time to sand, clean, and prime properly, you can give your old rubber items a smooth, durable finish that looks fantastic and holds up over time!
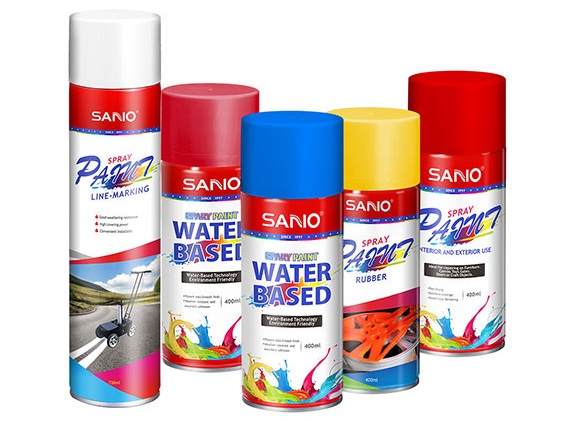
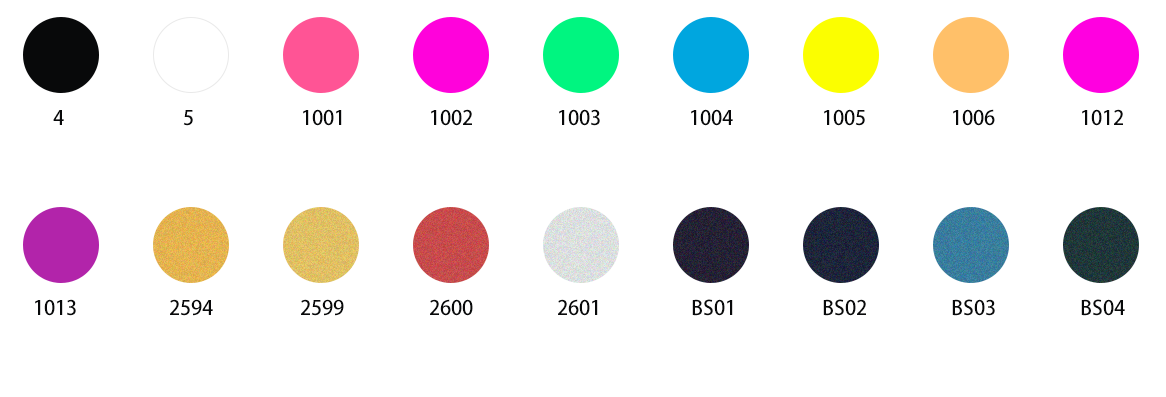
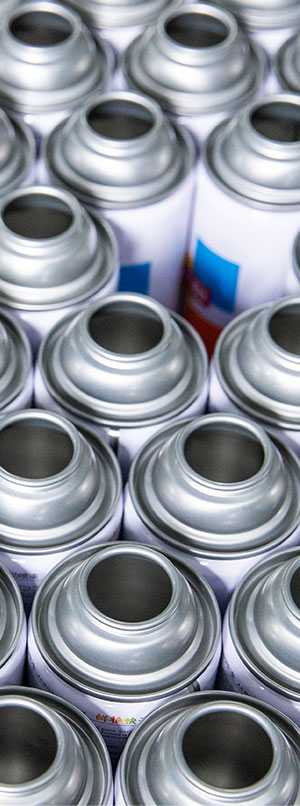
When you decide to DIY your project, consider SANVO spray paints. SANVO acrylic spray paints are widely used on the surface of rubber, metal, ABS plastic, wooden materials, etc. It’s your good choice for decoration and appearance repairing. Moreover, our spray cans feature an adjustable easy-press nozzle and a wide spray pattern for easily applying smooth and even coats on an assorted range of surfaces. SANVO offers 115+ color options to suit your preferences. And custom color service is available.