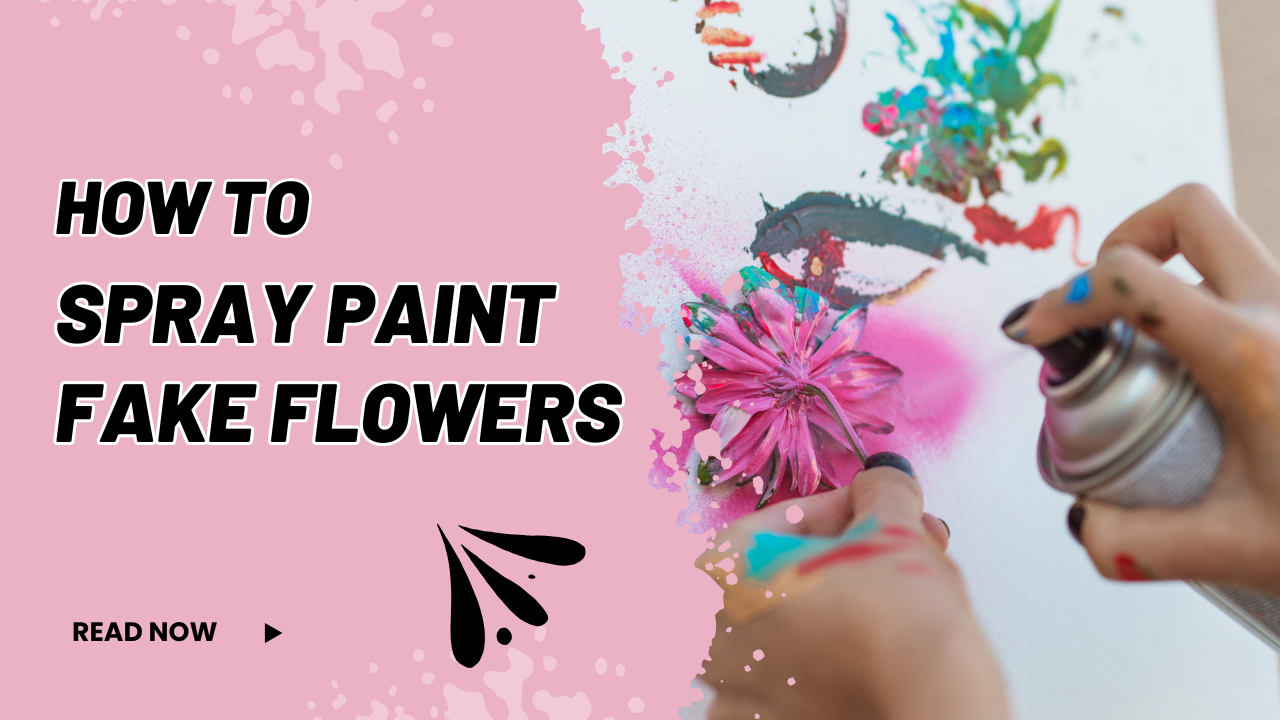
Can you really spray paint fake flowers? The answer is a resounding yes! If you’ve ever found the perfect silk rose or plastic succulent but wished it came in a different shade, you know the struggle of being limited by store colors.
Spray painting your artificial blooms is the ultimate solution, allowing you to create custom colors for a seamless home décor update, seasonal refresh, or event styling masterpiece.
This article will guide you through exactly how to spray paint fake flowers correctly to ensure you get vibrant, professional results that will fool any eye!
Step 1: Choosing the Right Flowers and Paint
Selecting the Artificial Flowers
The first step to spray painting fake flowers is selecting the proper materials. Most artificial flowers are suitable for spray painting, including those made from silk, plastic, or foam.
Just be a little careful with super cheap flowers or anything with a weird, powder-like factory finish. Sometimes, that delicate coating can fight the paint and start to peel later.
Selecting the Correct Spray Paint
For most craft projects involving fake flowers, stick with a good quality acrylic-based spray paint. They’re workhorses and bond well to many materials.
If you’re dealing with tricky, dense materials like plastic floral stems, look for a specialty paint labeled for plastics—it will grab onto the slick surface better.
Tips for Color
Think about the vibe you want.
Do you want your flowers to look soft and realistic? Go with a matte finish.
Want a modern, bold centerpiece? A glossy finish will deliver that high-shine pop.
Or, perhaps you want to add a luxurious touch for a party? Choose a metallic finish like rose gold or bronze.

Step 2: Preparing Your Workspace and Flowers
Before you unleash the spray paint, a little preparation goes a long way toward a clean and successful project.
Set Up Your Painting Zone
Ventilation is key! Spray paint fumes are strong, so you should always work in a well-ventilated area.
Next, protect everything you don’t want painted. Lay down plenty of old newspaper, cardboard, or a drop cloth to cover your surfaces completely. Remember, overspray travels further than you think!
Prep the Faux Flowers
A quick cleaning step will ensure the paint sticks properly. Gently wipe down your flowers to remove any dust, dirt, or debris. A slightly damp cloth works well for this, but make sure the flowers are completely dry before you start spraying.
For easier and more even coverage, you’ll want a way to hold or suspend the flowers. You can stick the stems into a piece of foam block or a cardboard box so the blooms stand upright. Alternatively, you can use wire or painter’s tape to hang the individual stems from a clothesline or a dowel rod.
Step 3: Spray Painting Technique
The Application Process
Prepare your paint by shaking the can thoroughly before use and periodically during the process.
To spray, keep the can moving and hold it at the recommended distance, typically 6 to 12 inches from the flower. The most important rule is to apply light, even coats. Use a sweeping motion and never hold the spray in one spot to avoid heavy drips or clumps that spoil the texture of the petals.
Achieving Full Coverage
Work in stages to cover all surfaces. Rotate the flowers as needed to cover all angles, hitting the base of the petals and any leaves you wish to paint.
Patience is key. Allow adequate drying time between coats, generally 10 to 15 minutes, before applying the next thin layer. Building color slowly is the secret to a smooth finish that maintains the flower’s delicate shape.
Adhesion Tip
If you are painting flowers made of slick plastic, consider applying a dedicated primer first. This extra step will significantly improve adhesion and create a more durable final finish.
Step 4: Finishing Touches
After the color is applied, these final steps ensure your painted flowers look flawless and stay durable.
Final Drying and Inspection
Once you finish spraying, inspect the flowers for any missed spots and use a quick, light spray pass to touch up those areas if needed.
Attention: allow the flowers to dry completely before handling. This often means letting them cure for at least 24 hours. Handling them too soon guarantees smudges and sticky textures.
Durability and Longevity
For lasting color, you can apply an optional clear sealant (matte or glossy). A clear coat protects the paint from dust and scratches, significantly boosting the durability and longevity of your blooms.
Once fully dry, your beautiful, custom-colored flowers are ready for use in centerpieces, wreaths, and any other décor projects, providing a professional finish that perfectly complements your style.
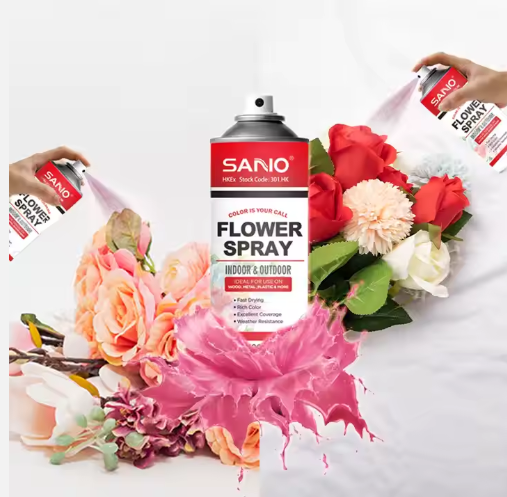
SANVO Flower Spray Paint: Your Creative Color Solution
For those looking for a professional-grade floral spray, consider SANVO Floral Spray Paint. This specialized, water-based solution is designed for delicate materials and is an excellent tool for custom projects. Its key benefits include:
- Ultra-Fast Drying: You can handle your creations quickly, allowing for an efficient workflow.
- Gentle and Enhancing: The formula is gentle enough not to curl paper or damage delicate petals, instead enhancing the natural beauty and vibrancy of the blooms.
- Ultimate Versatility: While perfect for artificial flowers and ribbons, this paint also works beautifully on crafts, wood, metal, and fabric wedding accessories, making it ideal for creating cohesive décor.
Grab a can of SANVO Flower Spray Paint today and effortlessly customize your décor!