In our last post, we covered how to tell if you can clean mold or if you need to replace your drywall. But what if the job is too big? Or what do you do after you’ve removed the mold?
This guide will walk you through when to call a mold professional and the right way to repair your wall to make sure mold doesn’t come back.
When to Call a Mold Remediation Professional
A small, surface-level spot is one thing. But you should call a professional for mold remediation immediately if you see these signs:
- The Mold Patch is Large: The EPA’s guideline is 10 square feet (about a 3×3 foot patch). Anything larger is a job for a pro who has the right containment gear to stop spores from spreading through your whole house.
- The Drywall is Soft: If the wall is soft or crumbling, it has to be cut out. A pro will do this safely.
- You Smell Mold But Can’t See It: A strong musty smell means you likely have a large, hidden mold colony inside a wall or crawlspace. Pros use tools like moisture meters and infrared cameras to find it.
- It’s from a Sewage Leak: If the water damage came from a sewage backup, it’s a biohazard. Do not touch it. Call a professional.
- You Have Health Concerns: If anyone in your home is immunocompromised, has severe asthma, or is an infant, don’t risk the airborne spores. Let a pro handle the cleanup.
- The Mold Keeps Coming Back: If you’ve cleaned a spot and it returns, you have an underlying moisture problem you haven’t found. A pro can diagnose the root cause.
How to Repair Moldy Drywall After It’s Removed
If, unfortunately, thee patch is too large, the drywall should be removed for permanently get rid of the mold, then how to repair the drywall?
Once the moldy drywall is cut out and the area is clean and dry, it’s time to repair it. Doing it right is key to prevention.
CRITICAL: Never, ever paint over mold. Paint doesn’t kill mold—it just hides it. The mold will continue to eat your drywall underneath and the paint will just bubble and peel off. You must remove the mold first.
1. Prime the Area (This is Not Optional)
After you’ve patched the wall with new drywall and joint compound, you must use a primer.
For New Drywall: Use a PVA (polyvinyl acrylic) primer. New drywall and joint compound are very porous and will soak up paint unevenly, making your wall look blotchy. A PVA primer seals the surface so your topcoat is smooth and even.
For Water Stains: If the original leak left yellow or brown water stains on the surrounding intact drywall, a standard primer won’t cover them. You need a stain-blocking primer (often oil-based or shellac-based) to seal the stain so it can’t bleed through your final paint color.
2. Use a Mold-Inhibiting Primer or Paint
For the best protection, especially in a bathroom, basement, or kitchen, use a mold-inhibiting primer or a paint with a mildewcide built-in. These products are specifically designed to create a surface that resists moisture and prevents mold from getting a foothold.
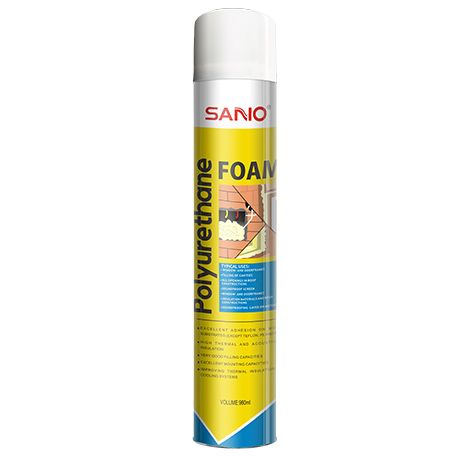
Product promotion:
How to Prevent Mold on Walls for Good
You’ve done all this work. How do you stop mold from ever coming back? Remember the golden rule: Mold control is moisture control.
- Fix Leaks: This is #1. That slow drip under the sink or tiny leak in the roof is a perfect water source for mold. Fix it immediately.
- Control Humidity: Keep your indoor humidity below 60% (ideally 30-50%). Use a dehumidifier in your basement. A simple $10 tool called a hygrometer can tell you the humidity level in any room.
- Ventilate, Ventilate, Ventilate: Use your bathroom and kitchen exhaust fans every time you shower or cook. Make sure they vent to the outside, not just into the attic. Make sure your clothes dryer also vents to the outside.
- Dry Spills Quickly: When you have a spill or a small flood, dry everything completely within 24-48 hours. Mold can’t grow without water.
Follow SANVO, we provide series of painting solutions and pro tips for you.