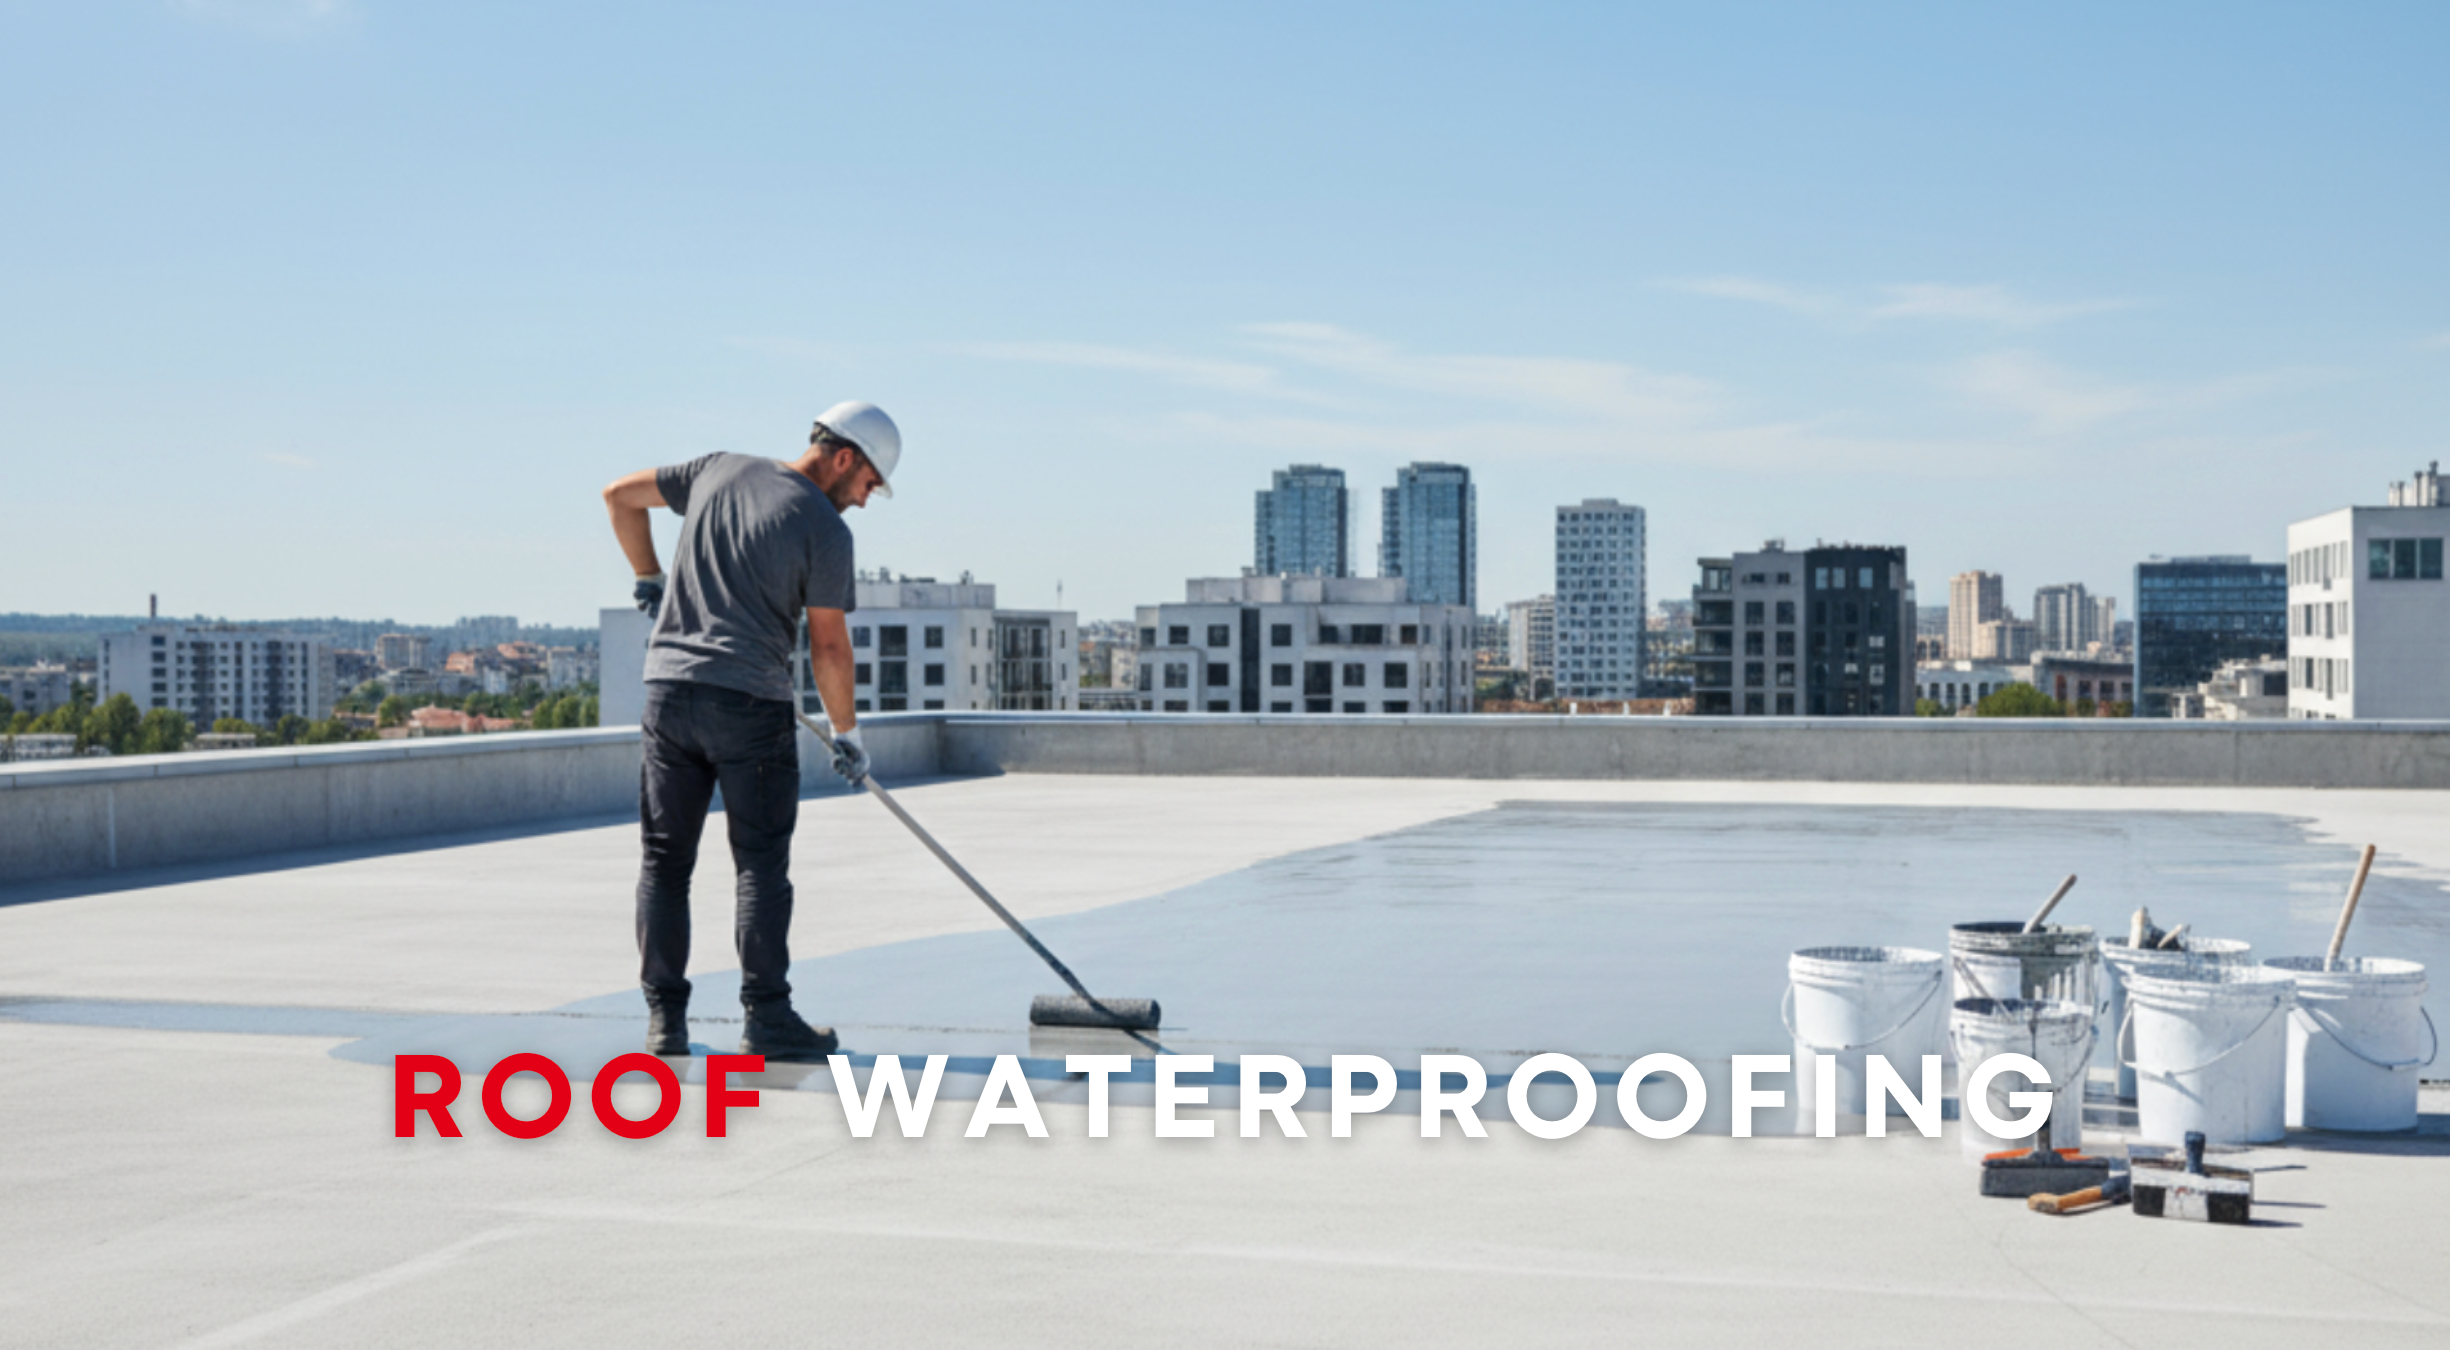
Over my years in the building materials industry, I’ve inspected countless roof failures. The vast majority don’t fail because of a single bad product. They fail because the fundamental principles of water behavior were ignored. They were treated as simple paint jobs, not as engineered systems.
Before you ever open a bucket of coating, you need to stop thinking about “painting” and start thinking like water. Water is lazy; it will always follow the path of least resistance. On a roof, that path is created by three primary enemies: poor drainage, failed seams, and unsealed penetrations. A successful waterproofing job is a systematic approach to defeating all three.
This guide isn’t about quick fixes. It’s about installing a professional-grade liquid-applied membrane system that will perform for years.

Material Science: Choosing Your Weapon
Not all coatings are created equal. Anyone who tells you there’s one “best” product for every roof doesn’t understand the chemistry. Your choice of membrane depends entirely on your roof’s specific conditions, particularly its exposure to UV radiation and its ability to handle ponding water.
- Acrylic Coatings: Think of these as the versatile workhorses. Modern acrylics offer excellent UV resistance, meaning they reflect sunlight and don’t chalk or degrade quickly. They are breathable, cost-effective, and easy to work with. However, their weakness is ponding water. If your roof has low spots where water sits for more than 48 hours, an acrylic will eventually re-emulsify (soften) and fail. They are ideal for roofs with positive drainage.
- Polyurethane Coatings: These are the tough ones, prized for their durability and abrasion resistance. They form an incredibly strong, seamless membrane that is excellent for roofs with regular foot traffic (like those with HVAC units that need servicing). The key here is understanding the difference between Aromatic (base coat) and Aliphatic (top coat) polyurethanes. The aromatic base is tough but not UV stable; it requires a UV-stable aliphatic top coat to prevent it from yellowing and breaking down.
- Silicone Coatings: When it comes to resisting ponding water, silicone is the undisputed champion. Its inorganic chemistry makes it virtually immune to degradation from standing water and UV rays. However, it has drawbacks. Silicone surfaces are notoriously slippery when wet, and almost nothing sticks to a cured silicone roof. This means future repairs or re-coating require special primers or a complete removal. Once you go silicone, you rarely go back.
The Process: Preparation is 90% of the Job
A multi-thousand-dollar coating applied to a dirty, unprepared surface is worthless. The membrane is only as good as its bond to the substrate.
Step 1: Aggressive Cleaning & Repair
The roof must be surgically clean. This means a pressure wash at a minimum of 2,500 PSI to remove all dirt, algae, and loose material. Any existing blisters, cracks, or failed patches on the old roof must be cut out and repaired with the appropriate patching compound before you proceed. The surface must be completely dry—invest in a moisture meter if you have any doubt.
Step 2: Detailing – The Heart of the System
This is where amateurs fail. Before you ever touch a roller for the main field of the roof, you must meticulously detail every potential weak point. This means applying a thick coat of sealant or mastic combined with a reinforcing polyester fabric at all seams, penetrations (pipes, vents, drains), and 90-degree angle changes (like where the roof meets a parapet wall). This fabric acts like rebar in concrete, adding strength where movement and stress are highest.
Step 3: Main Application & Mil Thickness
We don’t measure performance in “coats”; we measure it in Dry Film Thickness (DFT), expressed in mils (1/1000th of an inch). Your product’s technical data sheet (TDS) will specify the required DFT for a 10 or 20-year warranty—typically around 20-30 mils.
You control this by measuring the Wet Film Thickness (WFT) during application with a simple wet film gauge. The TDS will tell you what WFT is needed to achieve the target DFT once the product cures. Applying two thinner coats in perpendicular directions is always superior to one thick coat, as it minimizes pinholes.
Step 4: Curing & Inspection
The coating needs time to cure. This can be anywhere from 24 hours to a week, depending on the product, temperature, and humidity. A proper final inspection involves checking that all seams and penetrations are fully encapsulated and that the texture and color are uniform across the entire surface.
Critical Mistakes to Avoid
- Ignoring Ponding Water: Don’t put an acrylic coating where water ponds. Either fix the drainage first or choose a silicone.
- “Painting” Over Dirt: Any spec of dust or moisture left on the roof is a point of future failure.
- Skimping on Material: If you don’t use enough material to achieve the specified mil thickness, you don’t have a warranty, and you don’t have a waterproof system. Period.
- Ignoring the Weather: Do not apply coatings if rain is forecast, if temperatures are about to drop below the manufacturer’s recommendation (usually 50°F / 10°C), or if dew is about to form.
Ultimately, a liquid-applied roof system is a significant investment. Understanding these principles is the only way to ensure it performs. It’s crucial to remember that the roof is just one part, albeit the most critical one, of your home’s total defense against water. To understand how this fits into a complete strategy for protecting your entire building envelope, from foundation to rooftop, see our comprehensive [Guide to Home Waterproofing: A Systems Approach].

