When remodeling a shower, the beautiful tile is what you see, but the waterproofing behind it is what
Of all the system failures I’m called to inspect, a leaking shower is the most predictable—and the most unforgivable. It is almost never the fault of a single product. It is a failure of the system, born from a widespread and dangerous misunderstanding of how a modern shower assembly is engineered.
The first and most important principle you must accept is this: Tile and grout are not waterproof.
Cementitious grout is porous. Water will penetrate it. Over time, that water will find its way to the substrate behind the tile. If that substrate is not protected by a perfect, continuous, and properly detailed waterproof membrane, the system will fail. The tile you see is merely the decorative, wearable surface; the real work happens behind the scene.
This guide details the professional methodology for creating a truly leak-proof shower assembly.
Substrate Science: The Unseen Foundation
A waterproofing membrane is only as good as the surface it is applied to. The single most catastrophic mistake in shower construction is the choice of the wrong substrate.
✗ The Unacceptable
Standard drywall, even moisture-resistant “green board,” has absolutely no place in a shower. Its paper facing is a food source for mold, and its gypsum core will turn to mush when exposed to the moisture that will inevitably get past the tile. Using it is not a shortcut; it is a guarantee of future failure.
✓ The Professional Standards
Your system must be built on a stable, inorganic foundation.
- Cement Backer Board: This is the long-standing industry workhorse. It’s a solid, durable substrate that is unaffected by water. However, it is important to understand that cement board itself is not waterproof; it is simply water-stable. It acts as a porous carrier for the membrane that will be applied over it. All seams must be taped and filled with thin-set mortar before the membrane is applied.
- Coated Foam Boards: These represent a more modern, integrated approach (e.g., Schluter-KERDI-BOARD, Wedi Board). They consist of an extruded polystyrene foam core with a reinforced facing. Their advantage is that they are lightweight, easy to cut, and serve as both the structural substrate and a waterproof, vapor-retardant layer in one step (when seams are properly treated). They also provide a thermal break.
The Membrane Showdown: Liquid vs. Sheet Goods
Once you have a proper substrate, you must apply the primary waterproof layer. There are two main professional systems.
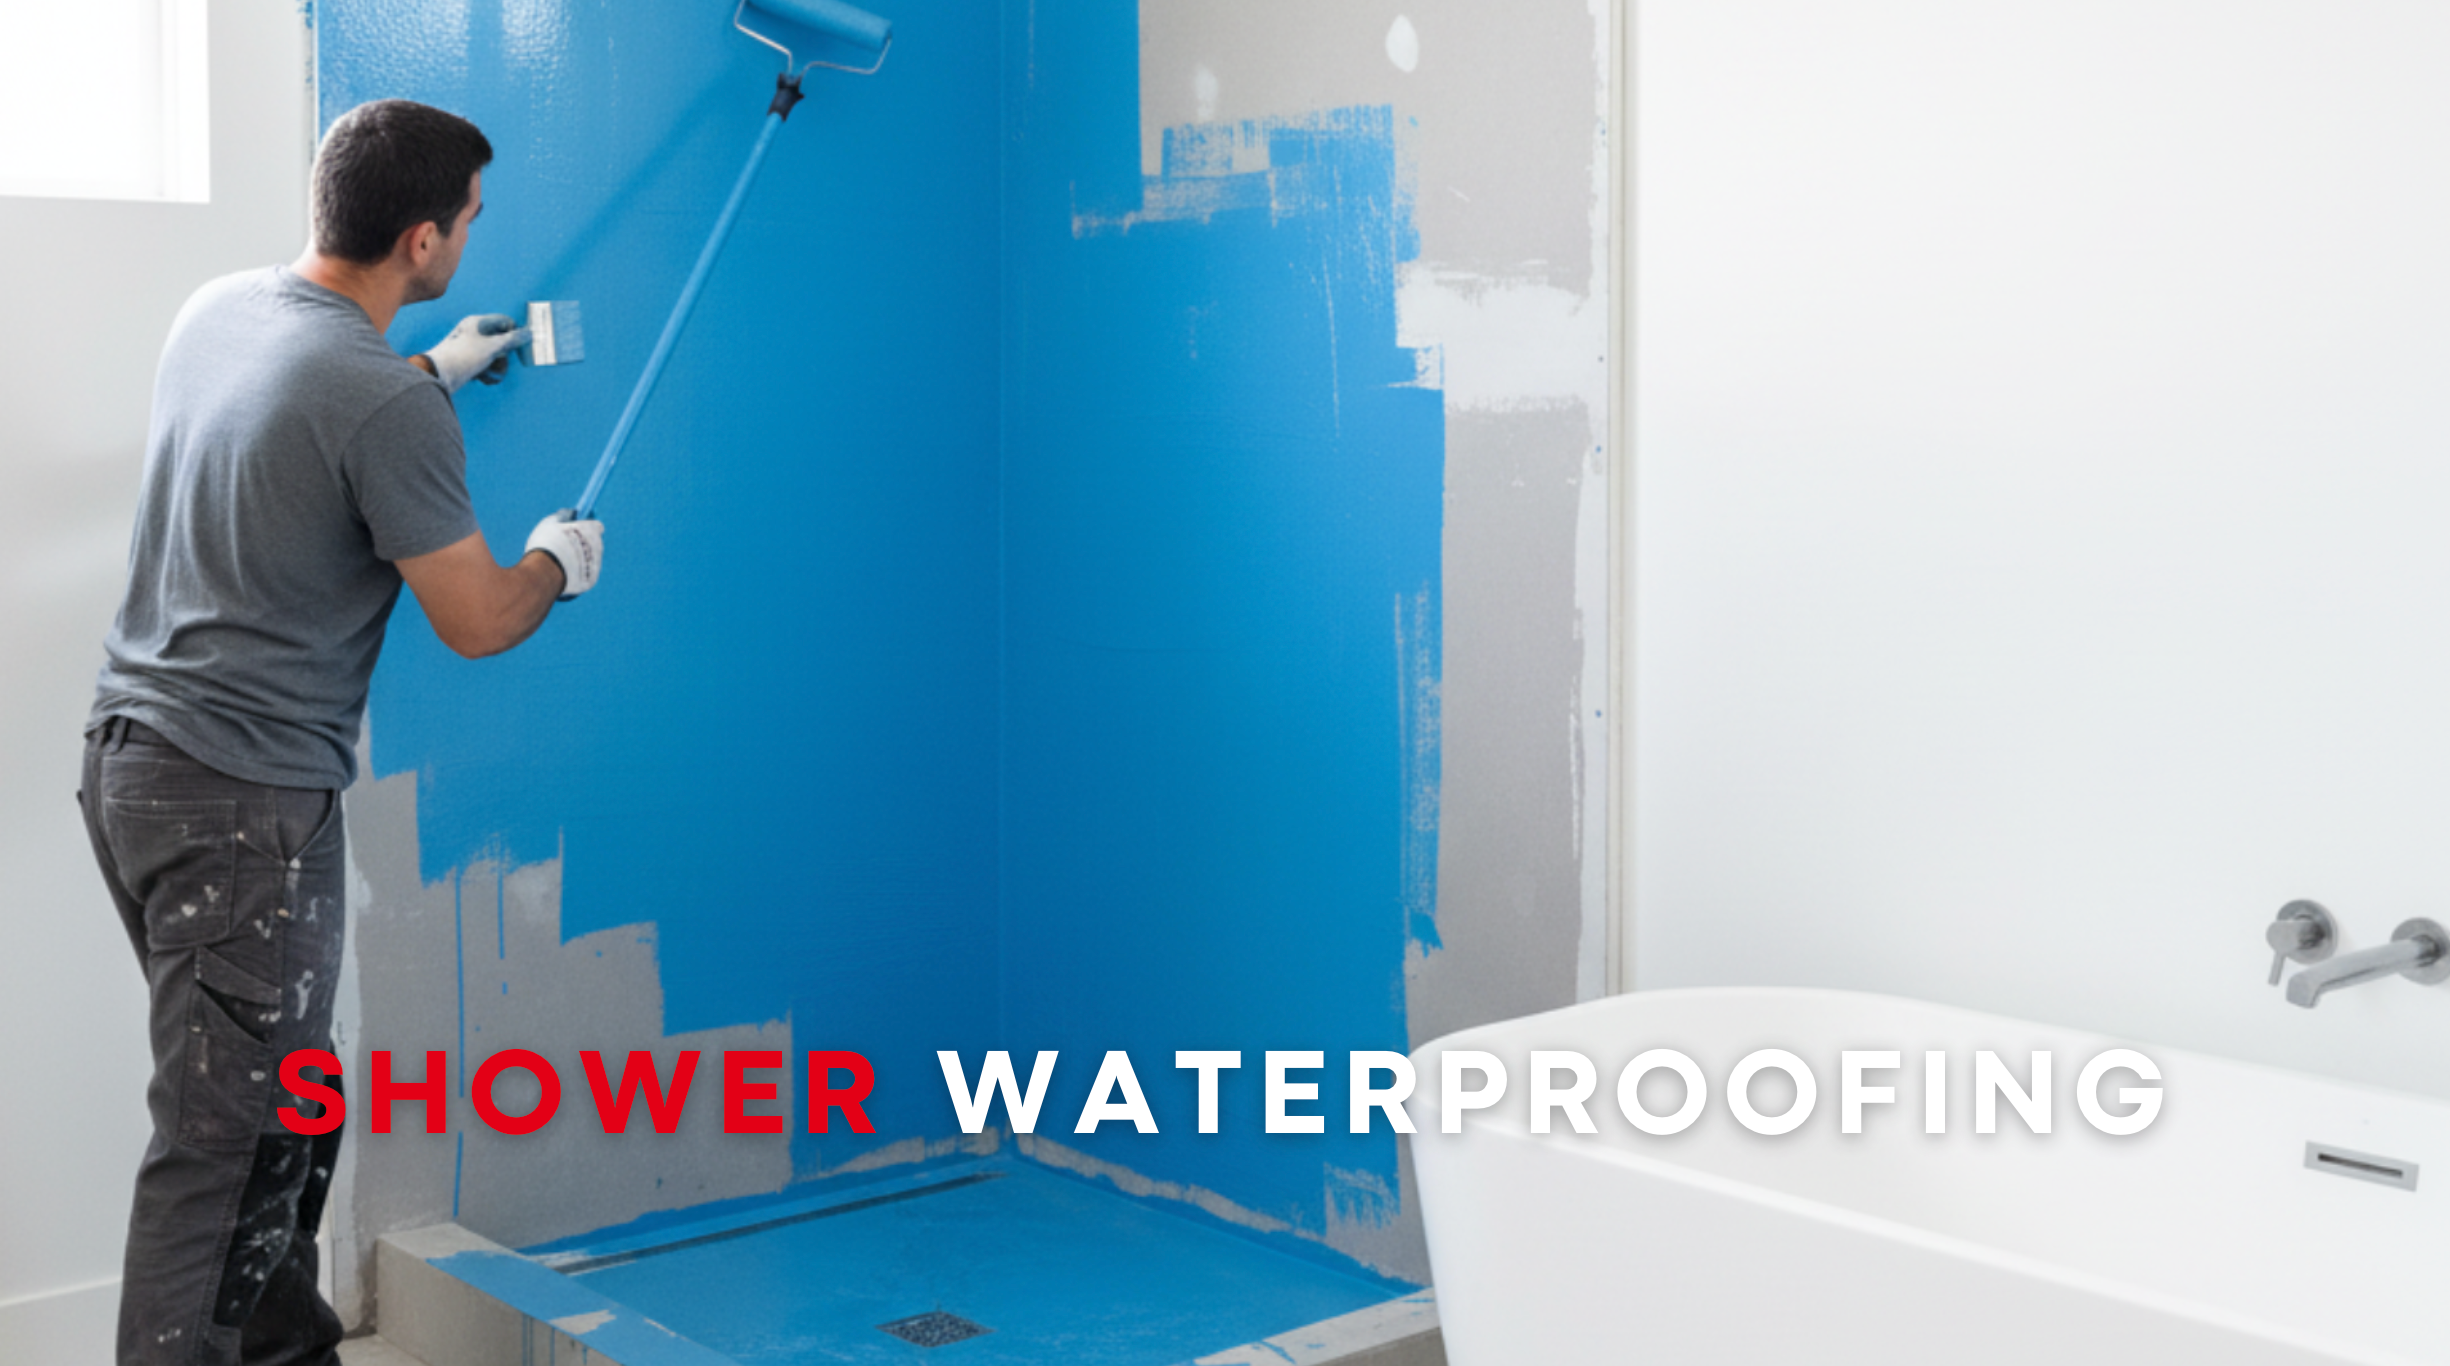
1. Liquid-Applied Membranes
These are trowel- or roller-applied coatings that cure to form a seamless, rubber-like membrane. Their main advantage is their monolithic nature and their ease of application on complex shapes like benches and niches. Their critical weakness, however, is user-dependent thickness. The system’s performance relies entirely on achieving the manufacturer’s required Dry Film Thickness (DFT). Applying a couple of “coats” that look good is not enough; you must use a wet film gauge during application to ensure you are putting down enough material. This is the most common point of failure for this system.
2. Sheet Membranes
These are factory-produced sheets of waterproofing material, typically bonded polyethylene (like Schluter-KERDI), that are applied to the substrate using thin-set mortar. Their undeniable advantage is guaranteed thickness. The user cannot install it too thin. However, the system’s integrity shifts to its weakest point: the seams. Every overlap, corner, and transition must be perfectly executed according to the manufacturer’s specifications. A single bad seam creates a complete system failure.
The Art of Detailing: Where Showers Actually Fail
The flat walls are easy. Leaks happen at transitions. Meticulous detailing is what separates a professional job from a costly disaster.
- Corners and Seams: These are movement joints. With liquid membranes, all changes of plane and board-to-board seams must be pre-treated with a thick coat of membrane and embedded reinforcing fabric. With sheet membranes, specific pre-formed corners and seam bands must be used.
- The Drain Integration: This is the heart surgery of the operation. The membrane must be flawlessly sealed to the drain flange. For clamping-ring style drains, this means sandwiching the membrane between the flange and the ring with the appropriate sealant. For integrated bonding flange drains, it means ensuring a perfect, void-free bond.
- The Curb: A shower curb must be treated like a small dam. The membrane must wrap up the inside, over the top, and down the outside in one continuous piece if possible. It must be completely encapsulated.
The Non-Negotiable Step: The Flood Test
Once the membrane and detailing are complete and fully cured, you must test your work. This is not optional.
Plug the drain and fill the shower base with water, just below the level of the curb. Mark the water level with a pencil. Let it sit for 24 hours. If the water level drops (accounting for minor evaporation), you have a leak. Finding it now is a simple repair. Finding it after the tile is set is a complete tear-out.
A truly waterproof shower is the result of a methodical, system-based approach. It requires respecting the science of materials and executing every detail with precision. This concept of creating a perfect, sealed “envelope” in a high-exposure area is a core principle of total home protection. To learn how this philosophy applies to other critical areas like your roof and basement, explore our comprehensive [Guide to Home Waterproofing: A Systems Approach].