Struggling with fuzzy edges and messy drips in your spray paint art? Achieving clean, sharp lines is the most common challenge for beginners.
In this guide, I will cover 5 spray paint techniques that give you precise can control, helping you fix common mistakes and immediately improve your results.
A Quick Word on Safety First (Trust Us on This)
Before we dive into technique, your safety is non-negotiable. Aerosol paint contains chemicals you don’t want in your lungs or on your skin.
1. Ventilation is King: Always spray in a well-ventilated area, preferably outdoors. If you’re indoors, use fans to create airflow and open all windows.
2. Wear a Respirator: A simple dust mask isn’t enough. Invest in a respirator mask rated for vapors (look for “NIOSH-approved”). Your lungs will thank you.
3. Protect Your Hands: Wear disposable gloves to keep your hands clean and chemical-free.
Trustworthy advice always starts with safety. Now, let’s get to the fun part.
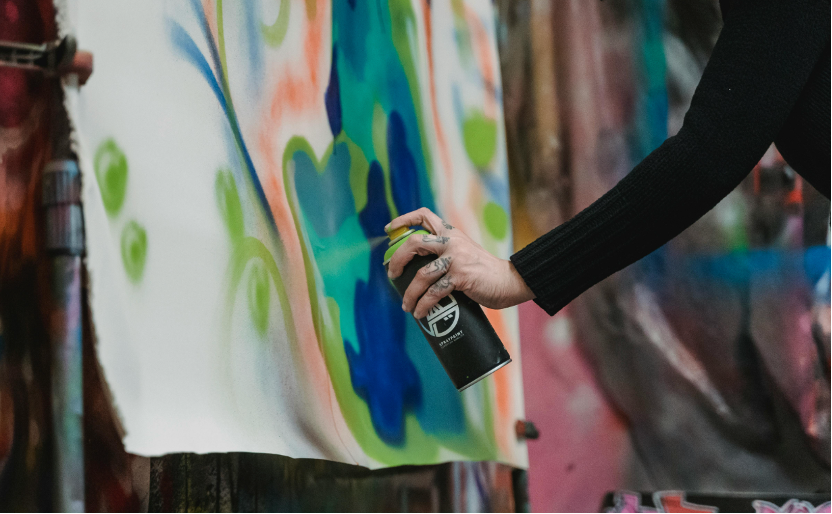
Tip #1: The Golden Rule of Distance and Speed
The most fundamental concept in can control is the relationship between your hand, the can, and the surface.
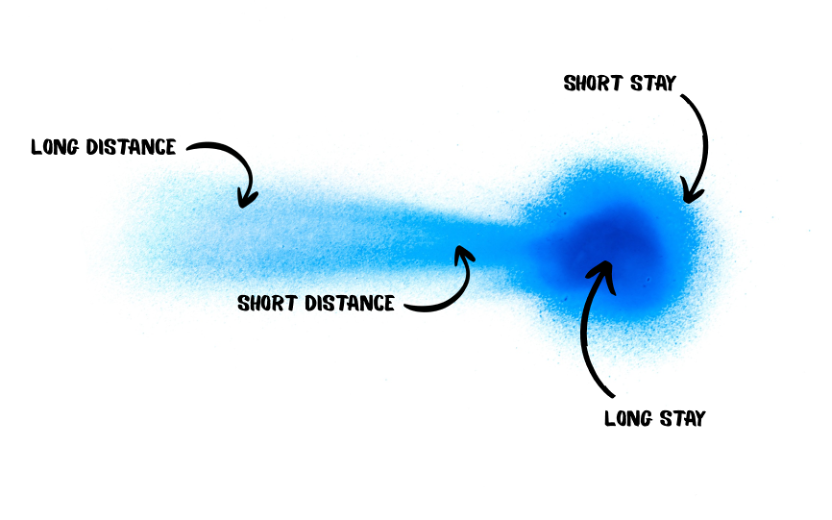
Distance controls the sharpness of your line.
- For sharp, clean lines: Move the can closer to the surface, around 2-4 inches (5-10 cm). This concentrates the spray into a smaller, denser area.
- For soft, blurry effects or gradients: Pull the can further away, around 6-10 inches (15-25 cm). The paint particles spread out more before they land, creating a softer look.
Speed controls the amount of paint.
- Move quickly: This applies a light, thin coat of paint. It’s perfect for sketching out ideas or building up layers gradually.
- Move slowly: This applies a heavy, saturated coat. Do this too slowly, and you’ll get drips and puddles.
Your First Drill: Grab a piece of scrap cardboard. Practice spraying straight lines, moving the can closer and farther away, and varying your speed. See how these two variables change the line. This simple exercise is the foundation of all can control.
Tip #2: Your Secret Weapon – The Nozzle (The “Cap”)
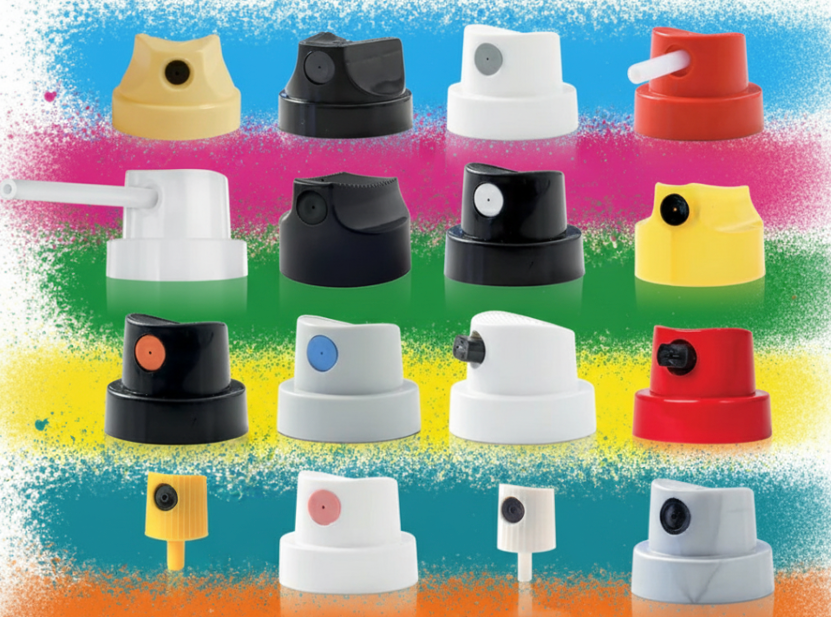
The nozzle on the can is more important than the can itself.
The stock cap that comes on a can is usually a one-size-fits-all disaster. Professional artists have collections of caps because they are, quite literally, different-sized paintbrushes.
- Skinny Caps (or Thin Caps): These are your detail brushes. They produce fine, sharp lines perfect for outlines and intricate work.
- Soft Caps: These have a lower output, creating a soft, misty spray. They are the ultimate tool for creating smooth, beautiful gradients and fades.
- Fat Caps: These are your giant paint rollers. They blast out a wide spray to fill in large areas quickly and evenly.
Investing in a multi-pack of different caps is the single best purchase you can make as a beginner. Stop fighting the stock cap and start choosing the right tool for the job.
Tip #3: When to Start & Finish
Have you ever noticed a dark, messy dot of paint right where you start or end a line? That’s because you’re starting and stopping on your artwork.
Here’s the professional technique to fix that forever:
- Position your can just off the edge of your canvas or wall.
- Press the nozzle to start the spray before it hits the art surface.
- Move your hand in one smooth, continuous motion across your piece.
- Only release the nozzle after your hand has passed the other side.
This technique ensures that the initial “splat” and the final “drip” happen off your canvas, leaving only a perfect, even line across your work. It feels unnatural at first, but it is absolutely critical for clean results.
Tip #4: The Dry Run Method
Great artists rely on muscle memory. They create smooth curves and perfectly straight lines because their arm already knows the motion. You can build this memory without wasting a single drop of paint.
This technique is called a “dry run.”
Before you spray, simply hold the can and rehearse the exact movement you intend to make. Do this a few times, focusing on keeping your motion smooth and your speed consistent. Trace the intended path in the air without pressing the nozzle.
This simple dry run programs your brain and arm to work together. When you finally press the nozzle, the movement will feel natural and confident, not hesitant and shaky.
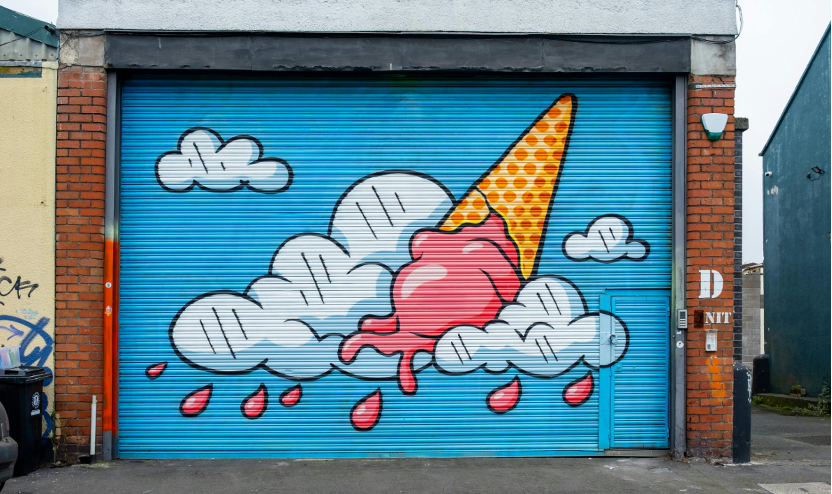
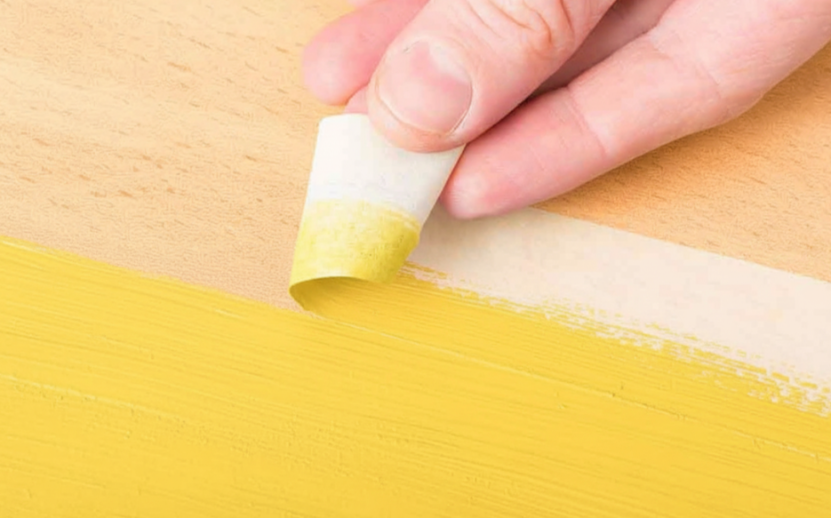
Tip #5: Masking Is Your Best Friend
Look closely at the sharpest, cleanest street art. Do you think every single one of those lines was done freehand? Absolutely not. Using painter’s tape isn’t cheating—it’s a core professional technique for achieving flawless precision.
However, just slapping on tape can lead to messy paint bleed. Here’s how to do it right:
- Seal the Edge: After applying it, press the edge down firmly with a credit card to create a tight seal. For a truly perfect line, spray a light coat of your background color over the tape’s edge first. This seals any tiny gaps, making it impossible for your main color to seep under.
- Spray Smart, Peel Smart: Apply several light coats rather than one heavy one, and spray away from the tape’s edge, not directly at it. The best time to remove the tape is when the paint is dry to the touch but not fully cured. Peel it slowly back on itself at a 45-degree angle for the cleanest possible line.
Don’t frustrate yourself trying to do everything freehand. Embrace the right tools and techniques to create clean, intentional work.
Final Thoughts
True can control comes down to technique, not just talent. By focusing on the fundamentals—distance, speed, the right caps, and proper masking—you can eliminate common mistakes.
As you practice, using a reliable, artist-grade paint is key. SANVO’s line of aerosol spray paints is designed to provide the smooth flow and can control discussed in this guide. Start applying these techniques now, and with the right tools, you will see a clear improvement in your work.