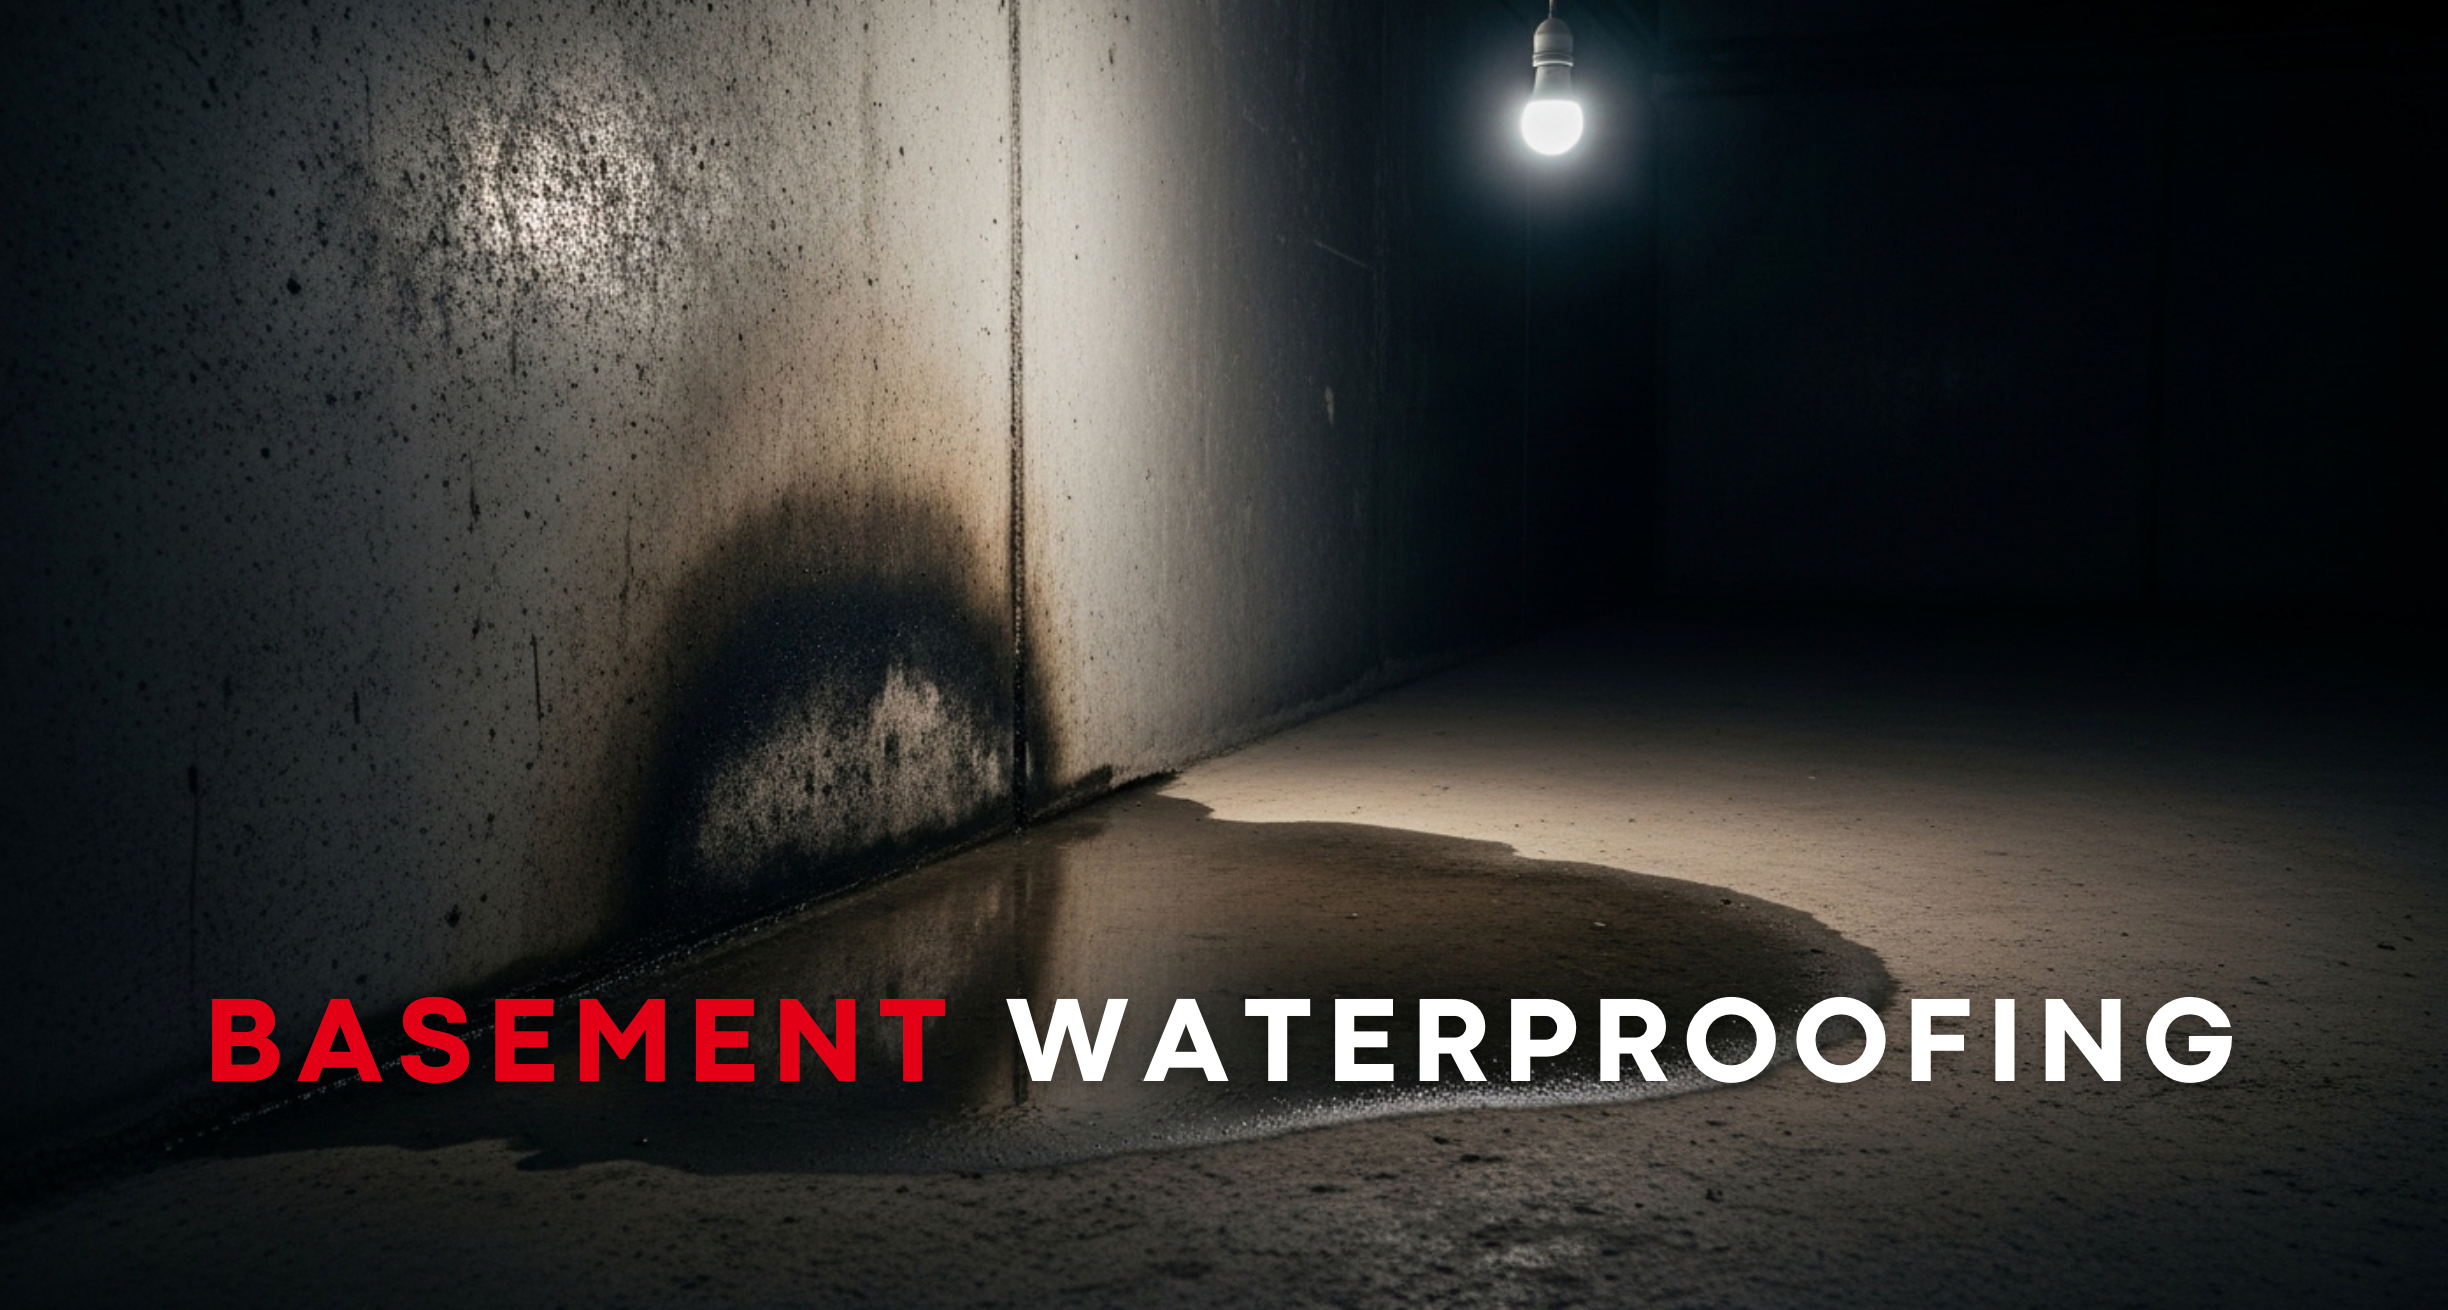
Finding water in your basement can be stressful, but the solution is often simpler than you think. Before you assume the worst, follow this quick action plan to diagnose the problem.

Step 1: Check Outside First (The 80% Solution)
Most basement water problems start outside the house. Fixing these issues is the easiest and most effective step you can take.
Check Your Gutters & Downspouts: Are your gutters overflowing? Are your downspouts dumping water right next to your foundation? This is the #1 cause of basement leaks.
- Action: Clean your gutters. Add downspout extenders to discharge water at least 6 feet (2 meters) away from your home.
Check the Ground Slope (Grading): The soil around your foundation should slope away from the house, not towards it.
- Action: If you see puddles forming against your foundation after it rains, you may need to add soil to build up a gentle slope. This prevents water from pooling and soaking into the ground near your walls.
Step 2: Inspect the Interior Walls
If your exterior drainage is fine, the next step is to look at the walls themselves.
- Look for Cracks: Scan the concrete walls for visible cracks, especially ones that look wet or have a white, powdery residue (efflorescence).
- Check the Cove Joint: Inspect the joint where the basement wall meets the floor. This is a common entry point for water under pressure.
Step 3: Your Quick Fix Plan
Based on your inspection, here are the next steps:
- For Cracks: Small, non-structural cracks can be sealed from the inside. Clean the crack thoroughly and fill it with a high-quality concrete or epoxy crack filler designed to stop water.
- For Wall Dampness: If there’s no visible leak but the walls feel damp, applying a professional-grade interior waterproof coating can create a robust barrier against moisture seepage.
For a broader view of home protection, visit our A Homeowner’s Quick Reference Guide to Waterproofing.

